Table of Contents
The Five Fundamental Moves to Improve Your Mobility
If you’ve been on a quest to ease those nagging aches and pains, I bet you’ve tried what seems like EVERY exercise.
So overwhelming, which one is best for me?
Do I need to stretch tight hip flexors? Have a foot in late representation? It’s gotta be my eyes, right!?
Or maybe there’s something simpler you need to do.
I work with many folks who spend a lot of time doing me-search to fix their problem. And they most all share a common denominator:
Overlooking the basics.
It’s like trying to go keto when your diet consists of mac and cheese and gummy worms. You need to master the movement fundamentals before diving into the fancy stuff.
So what are those fundamentals?
Read the post, watch the video, and listen to the podcast to learn about it!
The 5 moves
I start most of my patients and clients with these five basic moves. If they can master these moves, many common issues get cleared up.
The reason? They take care of the most common mobility issues I run into at my clinic.
These moves also teach the components necessary to master more advanced exercises. If you can’t nail ’em here, you won’t nail ’em once you add complexity.
Let’s go into what those 5 moves are and why I program them.
1. Calcaneal Traction Roll
Many people have limited ankle mobility. The biggest offenders are ankle dorsiflexion and eversion. You need these actions to put force into the ground. Being able to create effective ground contact provides potential for expanding upper segments.
Here’s how to do it:
- Start in a half-kneeling position with the working leg in front.
- Take the outside hand (if your right foot’s in front, use your left hand) and place the web space behind the ankle bones. Grip the heel on either side.
- Traction down to help gap the heel joint.
- Lean back to create more space.
- Silent nasal inhale. Transfer your weight to the outside heel during this. Make sure the foot doesn’t lift.
- Open mouth exhale. Transfer your weight to the inside heel, ensuring the foot stays flat and doesn’t tip outward.
- Perform 2-3 sets x 10-15 reps per side for 2-4 weeks before progressing.
Remember, the subtalar joint only has about five degrees of eversion. It should NOT be a big movement. Don’t force it. I’m watching you!
2. Foam Roller Decompression with Overhead Reach
For many reasons, our bodies tend to limit rotation. This happens by increased front and backside muscle activity. This state makes our torso more elliptical, which doesn’t rotate as well.
The fix here is to encourage front-to-back body expansion. We can use 2 factors for this:
- Sidelying position increases front-to-back ribcage dimensions
- Pressure from a foam roller can help squeeze the sides. Making the front-to-back-dimensions bigger
This move right here does exactly that. And that overhead reach? Helps reduce rectus damn-near killed us abdominis activity.
- Lie on your side with a foam roller on the middle third of your ribcage.
- Weight bear through the foam roller and bottom leg
- Eyes to the horizon
- Silent nasal inhale
- Soft exhale through the mouth. Think about melting into the foam roller.
- During the exhale, gently Reach your top arm out towards the wall. Like 2/10 effort.
- Hold this position and breathe.
- Perform 3-5 sets x 5 breaths per side for 2-4 weeks before trying a more advanced rotational move.
3. Decline Prone Breathing
Many have increased front-side muscle activity. I’m talking pecs, Im talking the 6-pack muscles.
When you see this, it often results in a slouched posture with forward head.
This exercise expands the anterior thorax (chest), and improves your mobility like whoa!
- Place 2 thick pads or 3 pillows under the lower ribs and stomach.
- Lie down on these pads. Arms are going to have elbow crease in-line with the eyes
- Weight bear through the inner elbows and lower ribs.
- Silent nasal inhale
- Soft mouth exhale. Think about getting heavier through those inner elbow points and the lower ribs.
- Perform 5 sets x 5 breaths, 2 times per day for 2-4 weeks before more advanced reaching moves.
4. Hooklying Breathing
This exercise is a MONSTER for improving hip mobility. It’s also great for connecting foot and pelvis dynamics.
- Lie on your back with a ball or a yoga block between your knees.
- Contact the ground through 3 points:
- Your PSIS (the bony part just above the pelvis and right below the lower back)
- Inside heels
- Base of the big toe.
- Silent nasal inhale
- Soft mouth exhale. Think about getting heavier through those foot and back points.
- Perform 5 sets x 5 breaths, 2 times per day for 2-4 weeks before tackling standing variations.
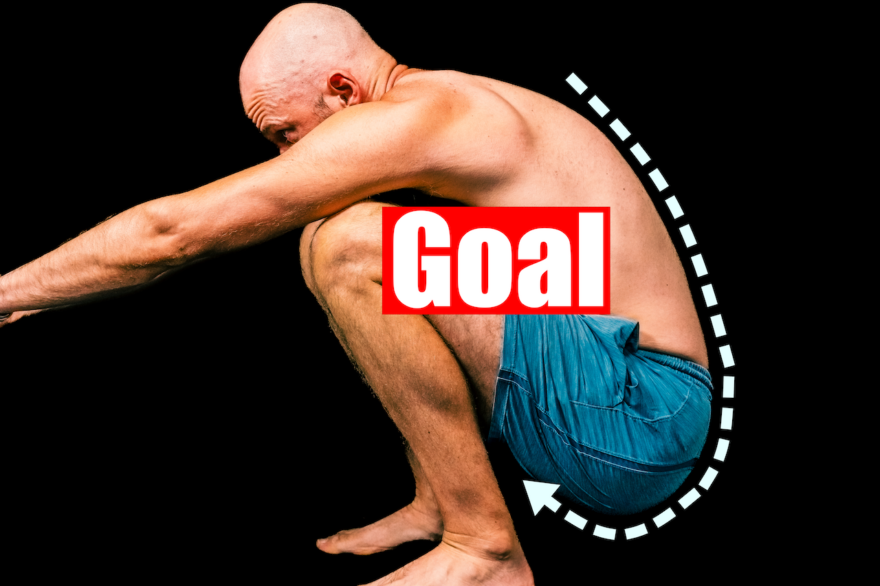
5. Wall Squat with Low Reach
This exercise is great for driving posterior expansion. More motion here can open up rotation and your overall mobility.
- Stand about your foot length away from the wall with a ball/yoga block between your knees.
- Ensure your weight is on the PSIS and the same points on the foot as the previous exercise.
- Eyes to the horizon.
- Squat down a little bit, keeping those points.
- Bend your elbows close to your body.
- Silent nasal inhale
- On the soft mouth exhale, subtly reach elbows toward the ground.
- Perform 5 sets x 5 breaths, 2 times per day for 2-4 weeks before tackling standing variations.
Sum up
These exercises may seem subtle, but that’s exactly what we want in the beginning. If you’re mobility is meh or you hurt, you likely have increased muscle activity. Learning to dampen that down can improve your motion and comfort.
Master the fundamentals before going fancy. It’ll get you far.
Now it’s common for people to make mistakes during each aspect of the exercise.
If you want to stop the big ones, I’d check out this post.