
Table of Contents
The best overhead press starting point?
Overhead pressing is SUPER tough to learn.
In fact, most people won’t have adequate mobility to either do an overhead press well, limiting its efficacy.
Yet pressing overhead is an excellent muscle-building tool. Is there a better starting point?
I think so.
Enter the oblique sit overhead press. This pressing variation not only allows you to learn pressing overhead with fewer issues, but it actually is excellent and improves the mobility needed to press like a rockstar.
Check out the video and post below to learn all about it!
Oblique sit press performance
There are several important steps to performing this awesome move at rockstar status!
Aside from the legs beign criss crossed as we will see below, you can watch how the oblique sit press is performed in totality here:
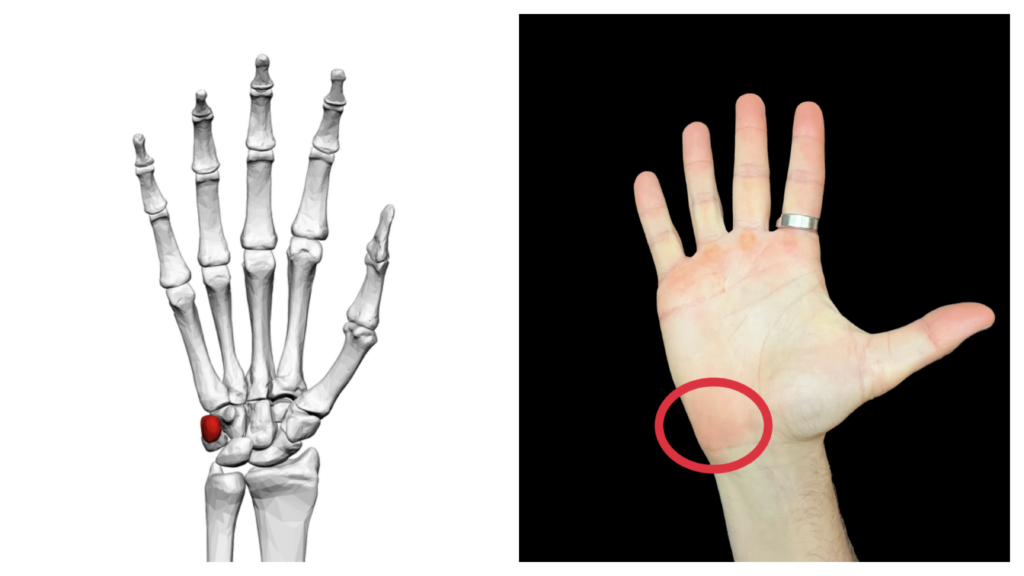
Step 1: Pisiform contact + centered arm
The support arm is arguably the most important piece of this move, as having it lined up with good pressure through the hand does the following:
- Increases stability needed to press overhead effectively
- Promotes ab tension to encourage proper lower ribcage position
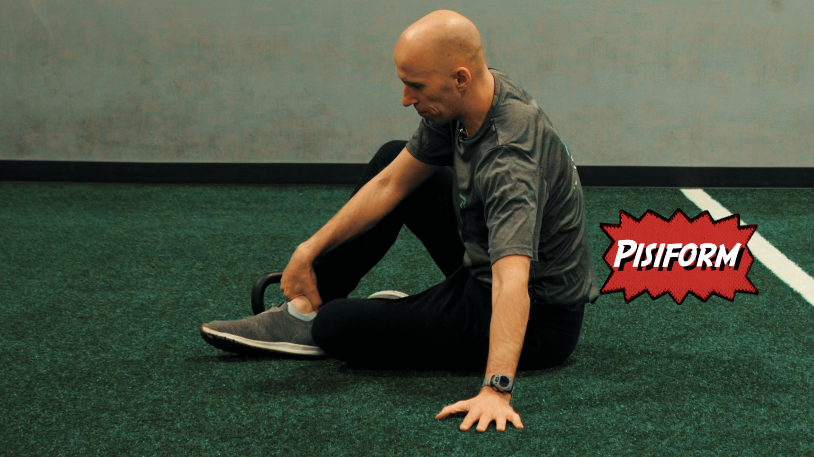
The support position starts with pisiform contact, which is the wiggly bone on the inner aspect of your wrist:
Once you’ve contacted this area, you are going to reach your body as far away as possible from the ground. You should feel the bottom abs contract if you get it right.
Make sure you keep the arm in a straight line with shoulder blade slightly back as you push. Oftentimes, people will either have the hand out of line with the torso or let the shoulder dump forward during this phase.
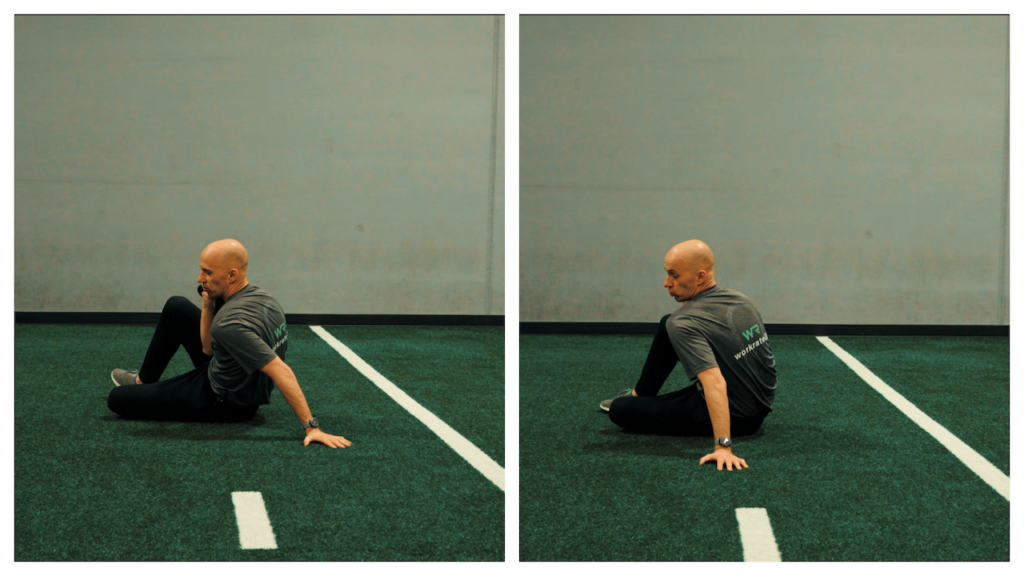
Both of these will negatively impact lower ribcage position, limiting the effectiveness of your press.
If you can’t get someone in position for this, you can either move the arm away from the person’s body further, or go down to a forearm support:
Step 2: Exhale to establish lower ribcage position
Once your support system is on point, the next step is the exhale.
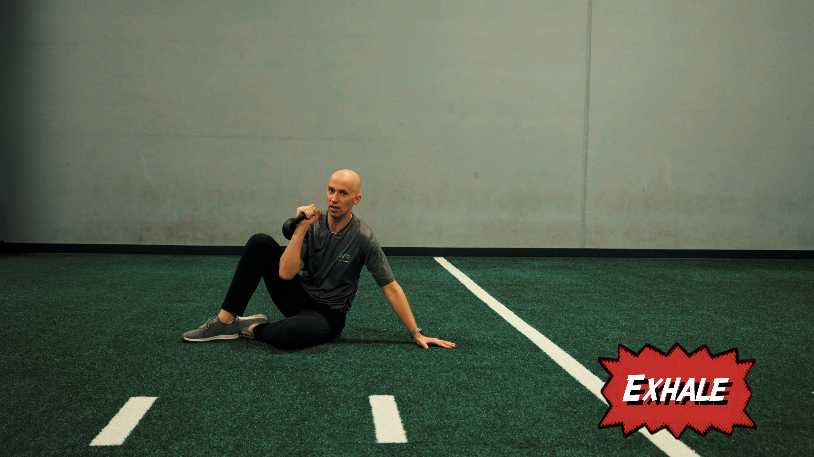
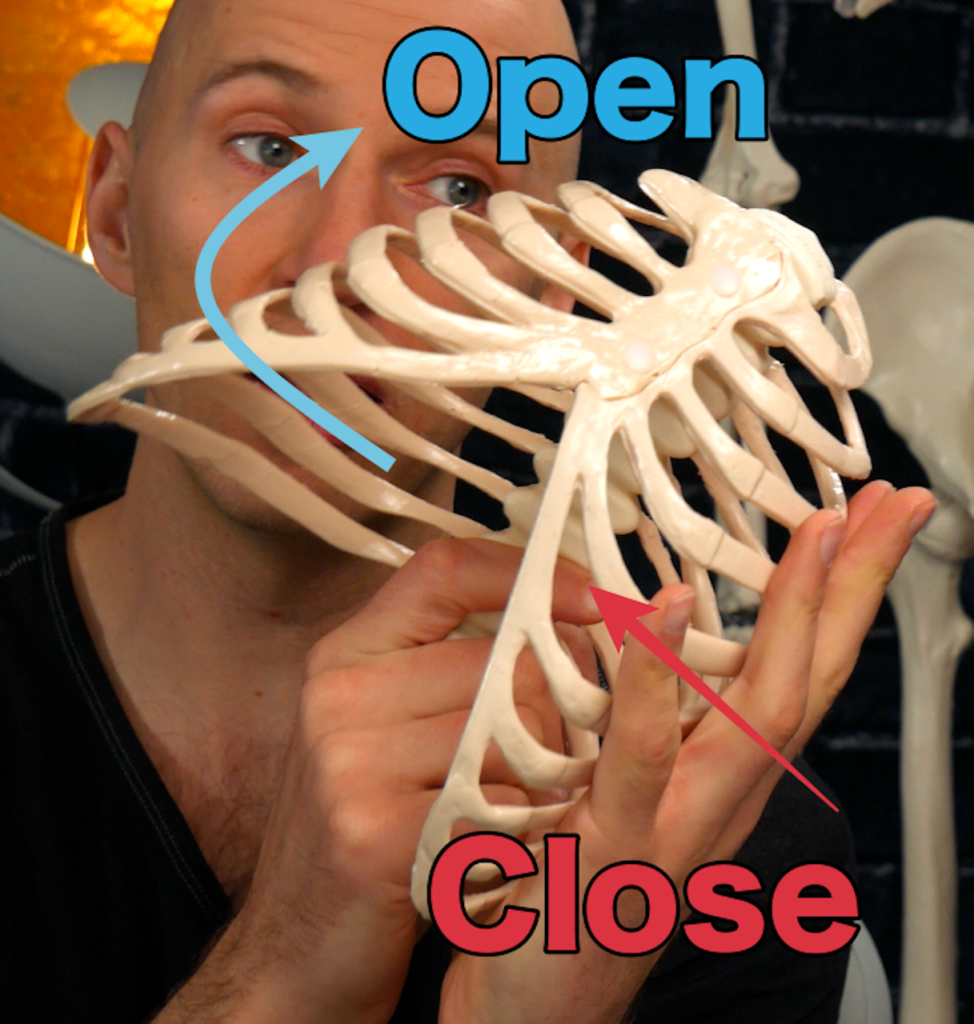
What the exhale does is it closes the lower ribcage on the downside, which subsequently will promote an expansion effect on the opposite side ribcage. The latter will increase available range of motion to press effectively.
Issues will arise if someone exhales too much (causing rounding) or not enough (causing arching), both will impact the rotational action that happens as you press the weight overhead.
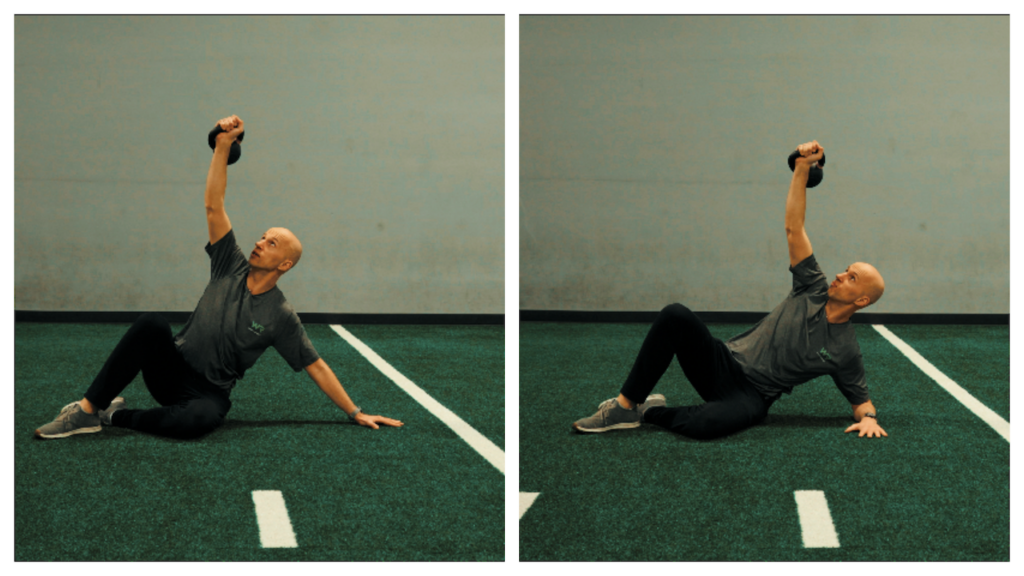
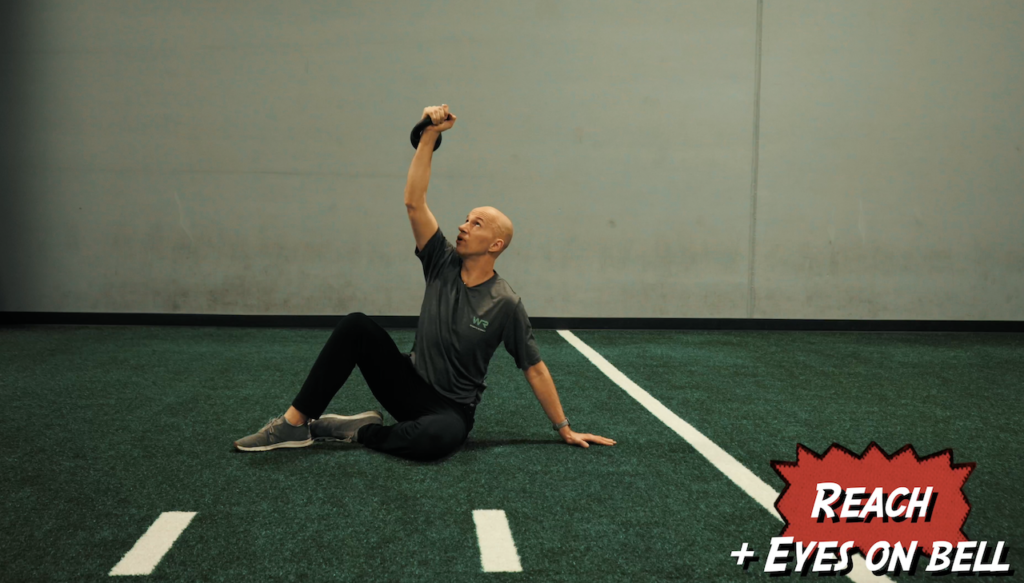
Step 3: Press the weight and turn the head
From here, you are now ready to press (whew!).
With the press, you want to turn the head toward the pressing arm. What this action will do is rotate the spine towards the pressing side, creating more space for the arm to move overhead.
In order for me to press overhead, the posterior ribcage must expand. This action helps ensure that the scapula stays congruent against the ribcage, and increases humeral external rotation capabilities. The latter is especially important with this press, as I will be keeping the press more aligned in the sagittal plane. External rotation is needed in order for that to occur.
Most of the issues seen here with the press is letting the arm flare out, which is often associated with arching of the back or loising the support arm position. Both of those will limit the capabilities of this press.
Oblique sit press biomechanics
With learning how to perform the oblique sit press, we picked up on a few different biomechanical keys that are happening:
- Bottom lower ribcage is compressing (closed)
- Top lower ribcage is expanding (open)
- Spine is rotating towards the press side
- Humerus is staying in the sagittal plane, which promotes external rotation
What we missed on, however, are the starting conditions created by the leg position.
You’ll notice that if I crisscross my legs as we see above (right leg up, left leg down), my right leg is going to be “reaching” towards the support arm. My zipper on my pants is more facing the support arm. That means that initially, the spine will be oriented towards the left (in the above example).
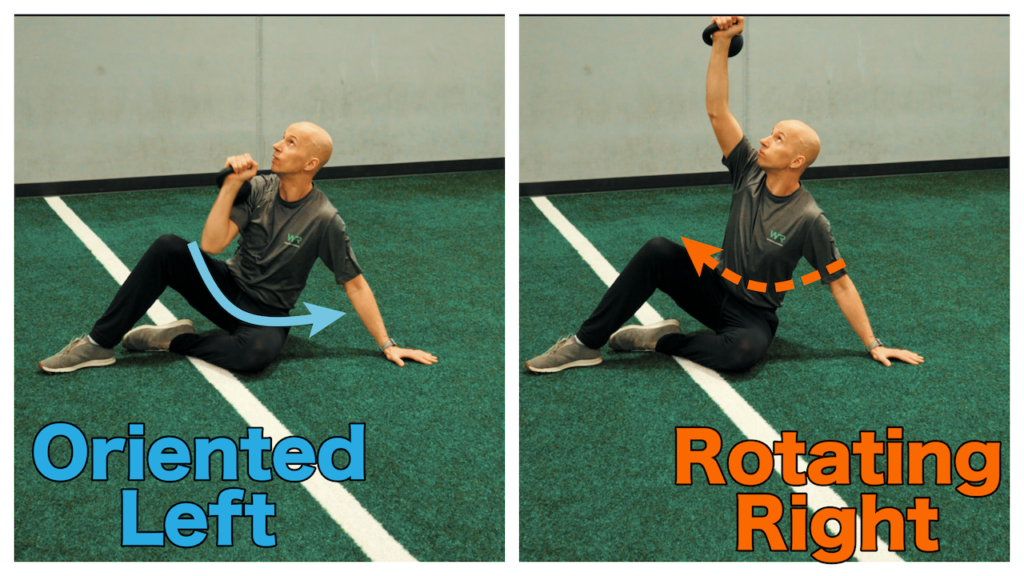
As I press the weight overhead, the rotational action changes. Now, I have a situation where I will begin rotating in the opposite direction (in this case, the right).
The above action creates:
- Right posterior thorax expansion (humeral ER)
- Left anterior expansion (humeral IR)
Oblique sit press programming
Given that I will be employing rotation towards the press side, and given the biomechanics above, the following findings would indicate utilizing this particular activity:
- Pressing side: Decreased humeral flexion, abduction, external rotation; Limited cervical & trunk rotation
- Support side: Decreased humeral extension and internal rotation; Limited cervical & trunk rotation
- Ribcage: Limited buckethandle dynamics (can work with either a narrow or wide infrasternal angle)
Sum up
Those, my dear fam, are the major keys when performing the oblique sit press.
To recap:
- The oblique sit press is a great starting pressing varaiation because of the rotational actions occuring
- Keys – support arm strong, exhale for ribcage position, turn head and press in the sagittal plane
- The basic action of the press involves a small-range rotation (orient spine one direction, rotate in the opposing direction for the action)
- Decreases in pressing-side external rotation measures and support-side internal rotation measures would indicate using this move.