Table of Contents
Why does my ribcage protrude on one side?
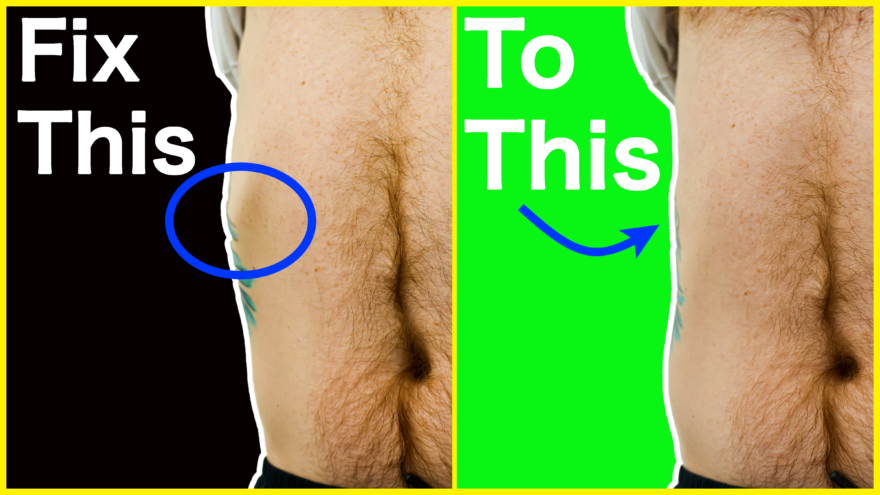
If your rib cage appears extra pointy on one side compared to the other, it may NOT be a structural thing.
In fact, the way you move (or don’t move) could be CAUSING that rib to appear flared, or protruded.
If there is a movement cause, then is there a movement solution to the problem?
YES!
This post will teach you:
– What a rib flare is
– Why it’s only present on what side
– How you can use breathing and exercise to improve it!
Check out the post and video below to learn about it.
What is a rib flare?
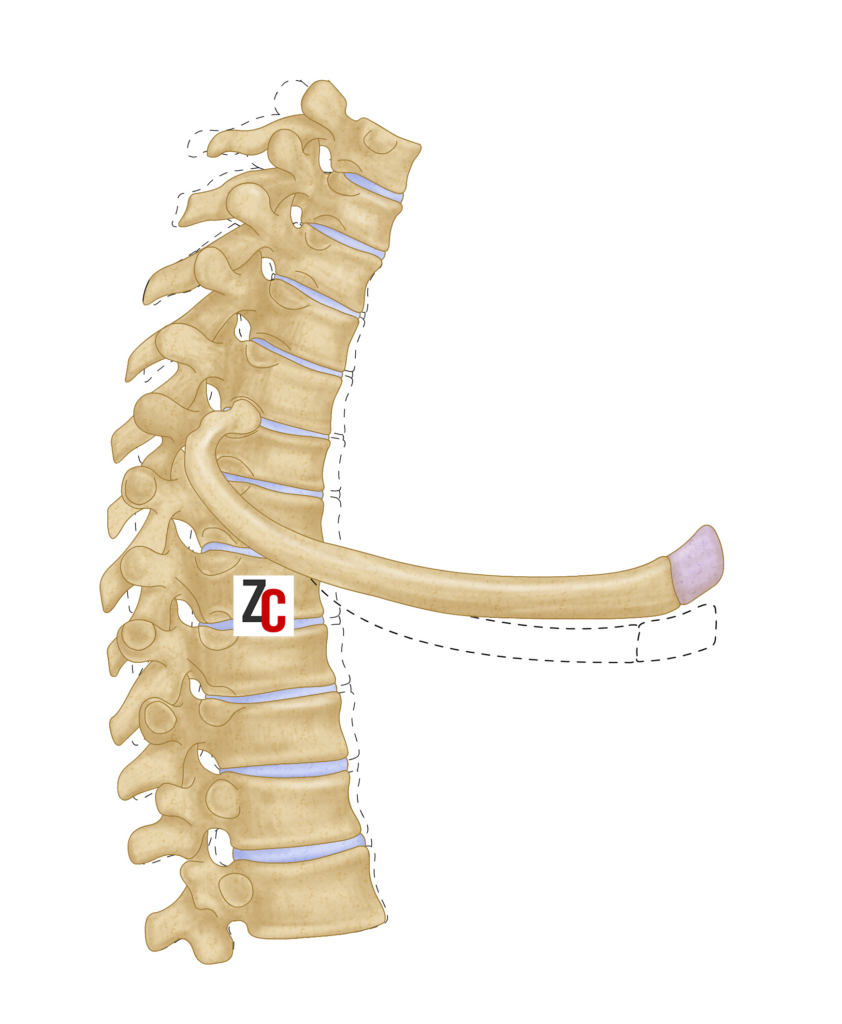
A rib flare is when the lower ribcage (false ribs, not the sternal ribs) becomes more prominent.

This rib posture occurs when the center of mass shifts forward, the lower back arches, and the pelvis anteriorly tilts.
The flare itself is quite common. It doesn’t cause pain but may contribute to limited movement.
If you’ve ever had a limited ability to deep squat or arch your back A TON, then it’s wise to address the rib flare
Why does one side flare?
According to these studies (here, here, here), everyone’s spine is rotated to the right. This occurs based on internal organ asymmetry. It’s normal.
When the spine rotates right, the left lower ribs can flare. Flaring on one side can assist with rotating in the opposite direction. It pushes the center of mass forward.
But it comes at a cost.
The cost–restricted ribcage movement, which can impact rotation. This limit happens because there becomes reduced segmental motion in the lower ribcage
What if it’s the right rib that appears flared?
In that case, that could an attempt to counteract that rotation, but is a bit rarer than the left flare.
Again, these findings are quite common and won’t kill you. Your rotational mobility could however be affected.
So how do we address this?
To mobilize the ribcage, we have to COMBINE these 2 strategies:
- Breathing
- Progressive rotation
Let’s talk about how to maximize each!
How to breathe to reduce rib flare
Want to improve ribcage mobility? Then use a breathing strategy that moves more air than quiet breathing.
The breathing sequence needed to improve lower ribcage dynamics is as follows:
- Silent nasal inhale
- Long, slow, and easy exhale
- While exhaling, the lower ab wall should get smaller (not a draw-in, but it should drop backward) first. The lower ribcage will eventually get smaller as more breaths occur.
You can try it in this video below:
Breathing in this manner improves the lower ribcage buckethandle action. Better buckethandle = better rotation.

The key with this sequence is that you don’t FORCE ribcage position and shape to change with one breath. You must use several breaths to elicit the desired movement adaptation.
We DON’T want to see the following:
- Crunching
- Losing lower abdominal muscle activity during the inhale
- Bracing the abs
Combining breathing with exercises to reduce rib flare
With the above breathing strategy, we’ll now start improving ribcage rotation.
If the ribcage on one side is forward, we want to start in that forward position and slowly rotate back.
Basic exercises
We can start this with a very simple movement called the crime scene pose:
Cues for this include:
- Gentle inner elbow and knee pressure
- Breathe per above
- Perform 4 rounds of 5 breaths, twice per day
To determine which arm and leg should be outward, here’s how to decide:
- Start with arm and leg opposite of rib flare up
- Progress to the other side as rib flare reduces
If that’s too easy, you can progress to an offset frog pose:
Here are the cues for this
- Eyes glance up at fingertips
- Breathe per above
- Pace the body movement with the exhale. DON’T FORCE your body up
- Perform 4 rounds of 5 breaths, twice per day
Here is how I determine which side to offset:
- Start raising the opposite side of the rib flare
- As the rib flare reduces, switch to the same side as the rib flare
Each progression rotates the ribcage further into the direction of the rib flare.
Intermediate exercises
Progressions involve driving rotation towards the rib flare even further. For this, I like rolling exercises.
The key with the two that I’m going to show you is to constrain the exercise so the ribcage cannot flare. We can use a yoga block to make this happen.
The first progression is a sidelying same connect roll:
Cues for this are:
- Gentle pressure into yoga block
- Make sure arm and leg are low
- Inhale – roll to back
- Exhale – back to start
- Perform 3 sets of 10 rolls
I’ll program this roll with the rib-flared side matching the yoga block. So if my left rib flares, the yoga block will be on the left arm and leg.
The progression from here is a cross-connect roll. Keep the arm squeezing the block on the same side as the rib flare. So if the left rib flares, squeeze with the left arm and roll left:
Cues for this are:
- Gentle pressure into the yoga block
- Make sure the arm and leg are low
- Inhale – roll to the side
- Exhale – back to start
- Perform 3 sets of 10 rolls
Advanced exercise
Try these exercises, have some improvements, but notice your ribs STILL flare in standing?
Now what?
Increase the challenge, that’s what!
For that, an offset landmine press is a great exercise. You can use the weight to help “push” the lower ribcage backward:
Cues for this include:
- Soft knees
- Keep weight on the back heel and big toe base
- Exhale – press
- Inhale – lower
- Perform 3 sets of 7-10 reps
Sum up
Those are the reasons why you may have an uneven rib flare, and how to fix it.
To recap:
– Uneven rib flares occur when the body rotates away from the rib flare side
– Using breathing combined with rotation towards that side can improve the rib flare
What exercises were most helpful? Comment below and let us know!

