Table of Contents
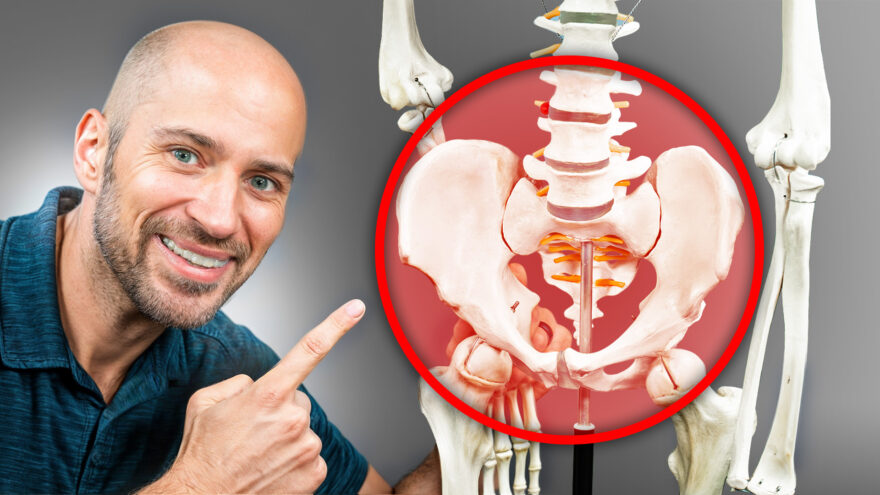
The Pelvic Biomechanics Essentials
If you want to improve lower back, hip, and leg mobility, you need to master pelvis movement.
The problem? Figuring out the best exercises can be tricky.
Not anymore! In this blog, I’ll break down pelvic biomechanics, how to test restrictions, and what exercises to use to get your pelvis moving like Elvis.
Biomechanics
The sacrum is key to pelvic movement. It doesn’t move much, but that 2-4º of motion affects muscle activity and movement of the guts as we breathe.
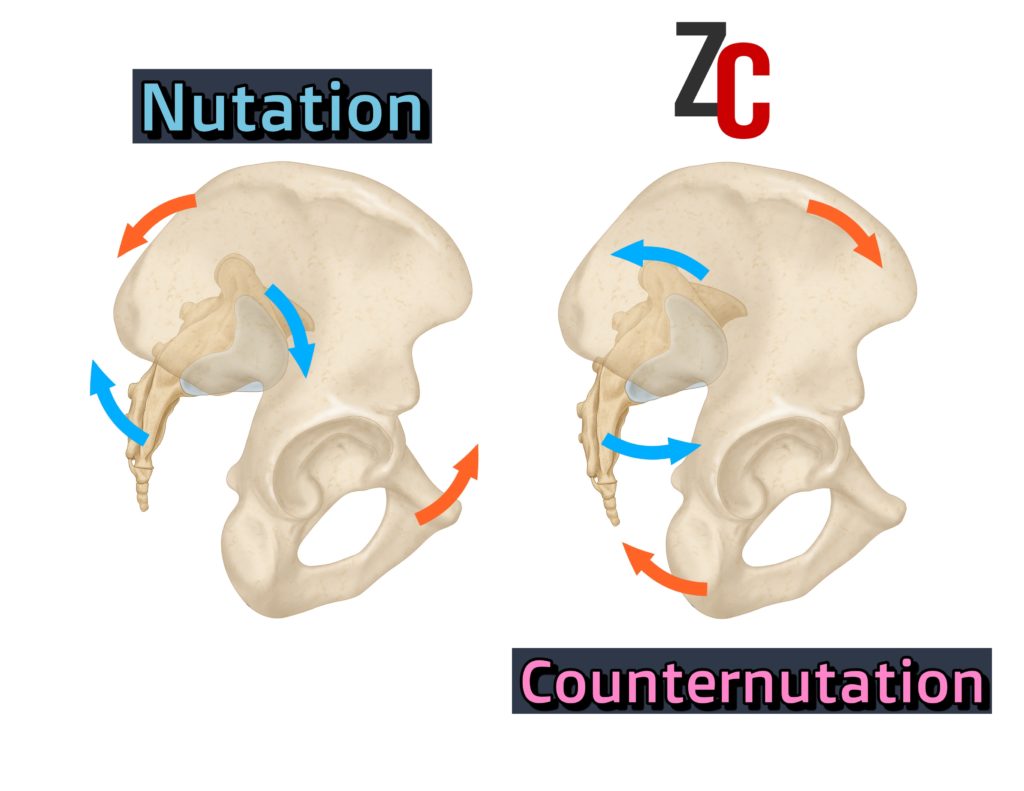
- Sacral Counternutation: Sacrum tips backward + innominates rotate outward
- Sacral Nutation: Sacrum tips forward + innominates rotate inward
This isn’t the same as tilting the pelvis, which moves it as a whole unit.
When we breathe, the sacrum and pelvis shift to support movement.
- Inhale = counternutation
- Exhale = nutation.
This subtle shifting happens throughout the day as we move and breathe.
Movement
When these sacral movements happen, the weight of the guts changes its location.
To determine where this expansion happens, break the pelvis up into 4 quadrants:

- Posterior upper – back side aspect ABOVE the greater trochanter
- Posterior lower – back side aspect BELOW the greater trochanter
- Anterior upper – front side aspect ABOVE the greater trochanter
- Anterior lower – front side aspect BELOW the greater trochanter
When the sacrum moves, it creates expansion (space for the guts) along 2 diagonals:


- Counternutation = Posterior Upper + Anterior Lower: Linked to external rotation (ER).
- Nutation = Posterior Lower + Anterior Upper: Linked to internal rotation (IR).
Although these movements happen in everyone, certain body types have better access to these movements than others:
- Narrow, Cylindrical Pelvis: More external rotation.
- Wide, Oval Pelvis: More internal rotation.
Now there are exceptions to the rule. Some people can have altered movement from above, or be hella stiff. Don’t worry, we outline that later 🙂
Testing
Posture can lie—use femur motion to see what’s really happening. Here’s how to check each quadrant:
- Posterior Upper: Prone external rotation (ER).
- Anterior Upper: Prone internal rotation (IR).
- Posterior Lower: IR at 90° hip flexion.
- Anterior Lower: ER at 90° hip flexion.
These tests give you a quick snapshot of where mobility is restricted.
Treatment
Depending on the restrictions, you’ll want to follow two principles:
- Superficial Before Deep: If you’re stiff all over, start here.
- Fill the Cup: Work from the top down.
Multidirectional limitations (AP expansion)
When someone is restricted in all directions, there’s no room for movement. You need to create space first.
To expand the front-to-back dimensions of the pelvis, try:
- Side-Lying Exercises
- Props: Use blocks or sandbags.
- Low-Tension Moves
- Side Ab Work
Once you restore at least one full rotation, you can move to more specific pelvic segments.
Here’s the order to expand pelvic areas:
- Anterior Upper Pelvis (AUP)
- Posterior Upper Pelvis (PUP)
- Posterior Lower Pelvis (PLOW)
- Anterior Lower Pelvis (ALOW)
The guts move downward when you breathe. They pass through the pelvis from the top. If you lack motion in the topside, the guts can’t move to the bottom.
Anterior Upper Pelvis Expansion
Expanding the AUP requires driving short-range internal rotation. Some strategies we discussed in the AP expansion section will work, but I also like using:
- Adduction to Midline
- Hip Extension to 0°
- Internal Rotation Contacts (IR)
Posterior Upper Pelvis Expansion
The next area would be the PUP, which helps create the downward gut movement.
Try:
- 0-60° Hip Flexion
- Lateral Contact Points
- High-Depth Squats
Posterior Lower Pelvis Expansion
As the guts move downward, there’s mild internal rotation. This slows the descent, like brakes on a car.
That means a slight amount of nutation must happen, but in greater ranges than the AUP tactics.
To expand here, use:
- 60-100° Hip Flexion
- IR Contact Points
- Hinge Movements
Anterior Lower Pelvis Expansion
Finally, to fully relax the pelvic floor, get the guts all the way down.
Focus on:
- 100°+ Hip Flexion
- Deep Squats
- Rotational Moves
Conclusion
Understanding pelvic movement is the key to improving mobility in the hips, back, and legs. Start by identifying where restrictions occur, address superficial muscle tension first, and then focus on filling the pelvis from the bottom up. By following these steps, you’ll unlock smoother movement and greater comfort.
If you want to dive even deeper into how biomechanics influence your movement, check out this ribcage post here for complementary techniques!