Table of Contents
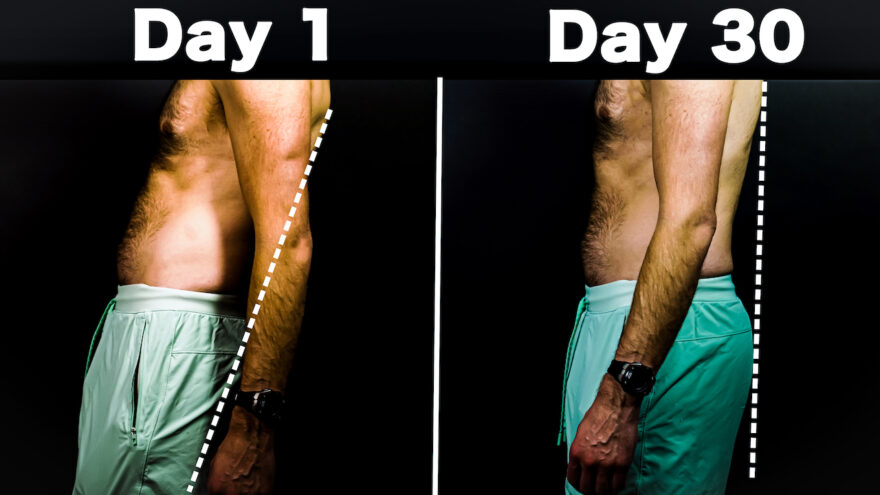
If your hips are ahead of your torso, read this
If you notice that:
- Your pelvis sits ahead of your torso
- Your feet spin out and grip the ground
- Your glutes clench all…the…time
Then you may be presenting with what a swayback posture.
If you want to learn exactly what that is and what you should do about it, check out the blog, video, and podcast below.
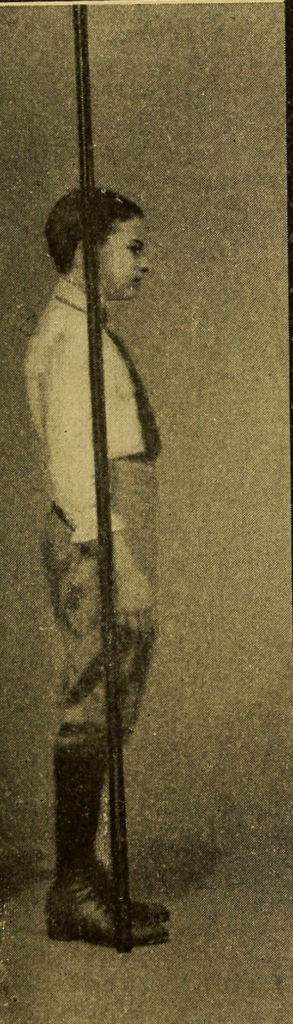
What is a swayback posture?
This posture is when the pelvis is forward in relation to the thorax. Consequently, the lumbar curve is reduced and the upper back can appear slouched.
Although posture and pain don’t always correlate, swayback posture can have movement limitations.
Oftentimes, you’ll see:
- Decreased straight leg raise (<50º)
- Decreased toe touch
- Limited hip internal rotation (<40º)
- Excessive hip external rotation (60º)
- Total hip rotation arch <100º
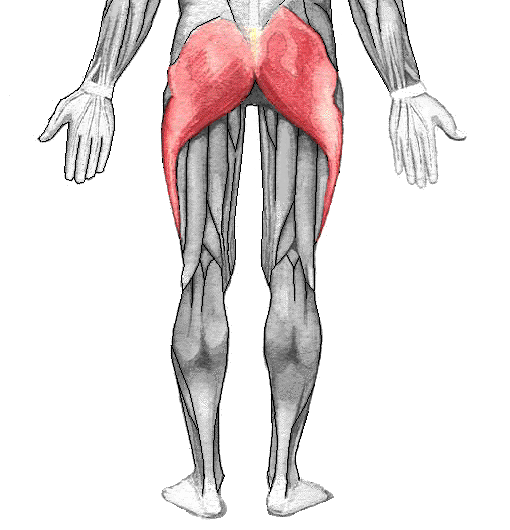
Improving mobility in this posture requires teaching the opposing strategy. If the hips are forward, reducing muscle activity to bring the hips back is key.
The target areas:

- Decreasing rectus abdominis activity
- Expand the posterior lower pelvis
There’s a 4 step sequence that I use specifically for this.
The 4-step sequence to fixing swayback posture
I start most with the crime scene pose. It’s the easiest move to create an eccentric rectus abdominis and posterolower pelvis.
Here are the steps:
- Lie on your stomach with the same side leg and arm tipped out, with your elbow crease at eye height.
- Press your inner elbow and knee straight down.
- Silent inhale through the nose and soft exhale through the mouth.
- Perform this for 3-4 rounds of 5 breaths per side.
You can progress that to a frog breathing exercise. This exercise is more challenging because there are fewer support points.
Here are the steps:
- Stand with a wide stance through the legs with feet touching.
- Bring your hands together with your elbows wide.
- Hips are ahead of your knees.
- Glance up at the fingertips
- Silent inhale through the nose and soft exhale through the mouth.
- During the exhale, let your entire torso move straight up. No crunching or arching.
- Perform this for 3-4 rounds of 5 breaths per side.
Now to make this dynamic, you can do a bent elbow backwards crawl.
Here are the steps:
- Get on your hands and knees, with your hands completely flat on the ground and elbows unlocked.
- Look up about a foot ahead, inhale, exhale, move your entire torso away like you did on the frog.
- Inhale lift one arm and one knee up.
- Slide back, exhale back down, making sure the elbow stays bent and you don’t sag.
- Perform this for 3-4 rounds of 5 steps per side.
If you mastered all those moves, then the real show is the walking wall squat. It also happens to be the hardest.
Here are the steps:
- Stand a couple of feet away from a wall with your hands up against it and your eyes looking straight ahead.
- Unlock your knees and breathe in through the nose and out through the mouth.
- As you exhale, walk your hands down the wall and push your hips back and chest down. Your knees should stay fixed.
- Squat down slowly, maintaining pressure against the wall.
- Be sure to keep your lower back from rounding.
- Hold the squat for five breaths in through the nose and out through the mouth.
- Perform this for 3-4 rounds of 5 breaths per side.
Sum up
These exercises can help reduce swayback posture and regain movement freedom.
To recap:
- Swayback posture is when the pelvis is forward in relation to the thorax
- Common symptoms include feet spinning out and constant gluteal clenching
- To improve mobility, the opposing strategy must be taught. Key = bring the hips back
- Exercises aim to decrease rectus abdominis activity and expand the posterior lower pelvis.
What movements helped you the most? Comment below and let us know!