Table of Contents
Programming and coaching of each variation
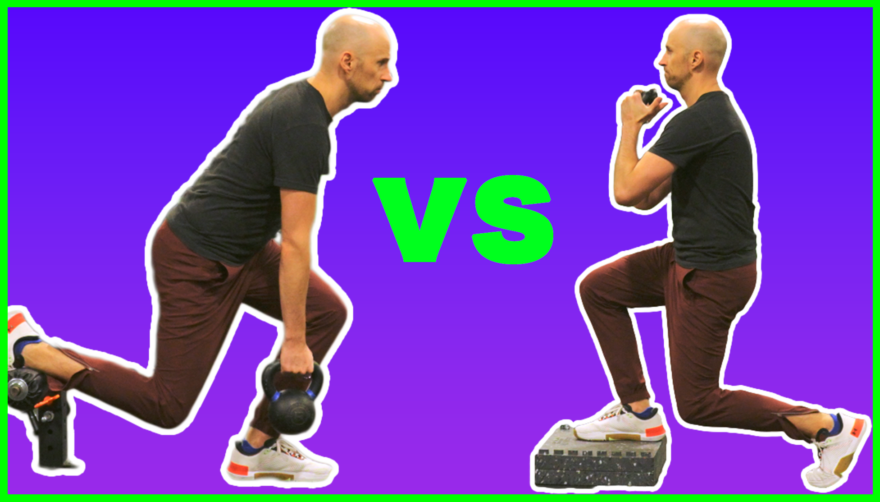
Front and rear foot elevated split squats–often programmed, but why?
In fact, there are KEY reasons why one version might be better than the other.
What are these reasons? That’s what we will outline in today’s post.
Not only will you learn the key differences between each, but also how to coach these exercises to maximally reap their benefits.
Check out the video and blog below to learn more.
Basic split squat biomechanics
During the split squat, the following describes the start position:
- Sacrum faces away from front leg
- External rotation is occurring on the ipsilateral (front) side pelvis
As one descends into the split squat, the following changes happen:
- The sacrum progressively turns more toward the front leg
- Increased internal rotation occurs on both sides of the pelvis
- Weight distribution shifts more toward the front leg
As you can see, the #majorkey to loading the front leg is rotating the pelvis towards it.
How do these mechanics change when I elevate one of the legs?
How foot elevation works
Foot elevation changes weight distribution between the two feet, but how?
For that, we need to know how a slinky works (trust me on this).
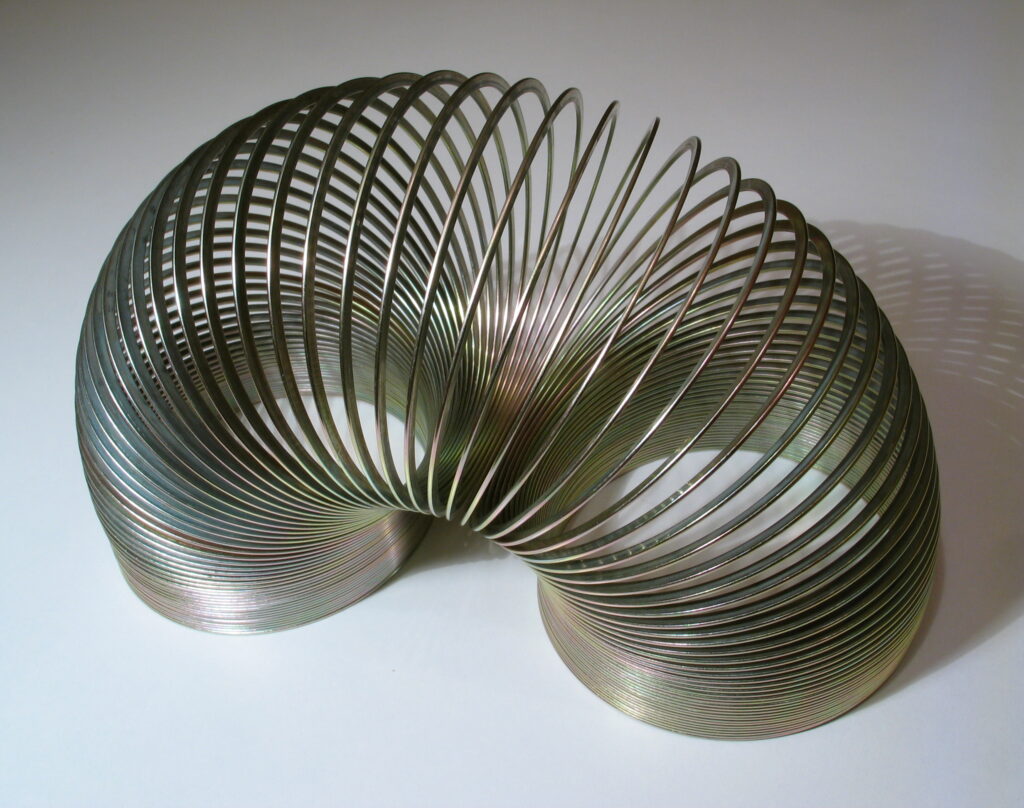
When you put the ends of a slinky on the ground, the coils are evenly distributed between both sides.
But consider how this changes when the slinky is on a set of stairs.
Due to the effects of gravity, more coils will be on the lower surface between the two ends. Meaning, as the slinky travels downstairs, fewer coils will be on the higher step compared to the lower step. This means that there is more “load” on the lower step.
Our bodies work similarly to the slinky.
When I place one foot on a box, the higher surface causes body weight to shift to the lower surface. So whichever foot I elevate in a split squat, more body weight will go through the grounded foot.
Simply:
– A front foot elevated split squat increases rear leg load
– A rear foot elevated split squat increases front leg load.
How Foot Elevation Changes Split Squat Biomechanics
More front leg load creates greater pelvic rotation towards the lead leg.
Considering the differences between leg loading, we can say the following:
- Front foot elevation reduces lead leg loading and biases external rotation
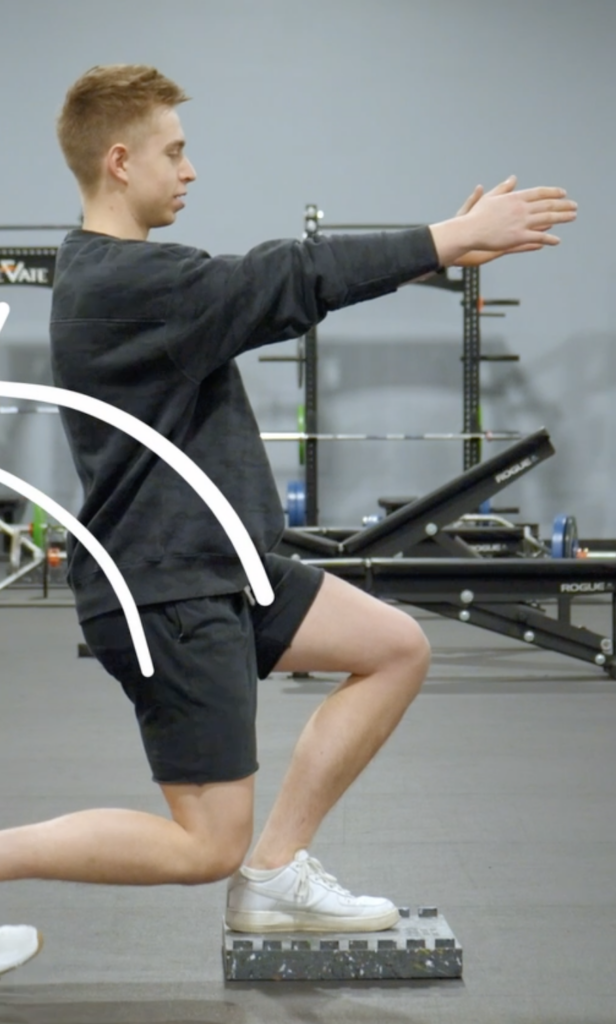
- Rear foot elevation increases lead leg loading and biases internal rotation
Basic Split Squat Coaching
Coaching cues are similar regardless of which variation you program:
Here are the cues that I focus on:
- Stance about 1.5-2 feet lengths apart
- Eyes look to the horizon
- Soft knees with the front leg having a neutral shin angle
- Silent nasale inhale
- Exhale through the mouth, reaching arms and moving body backward
- Inhale – Take a knee
- Exhale – back to start
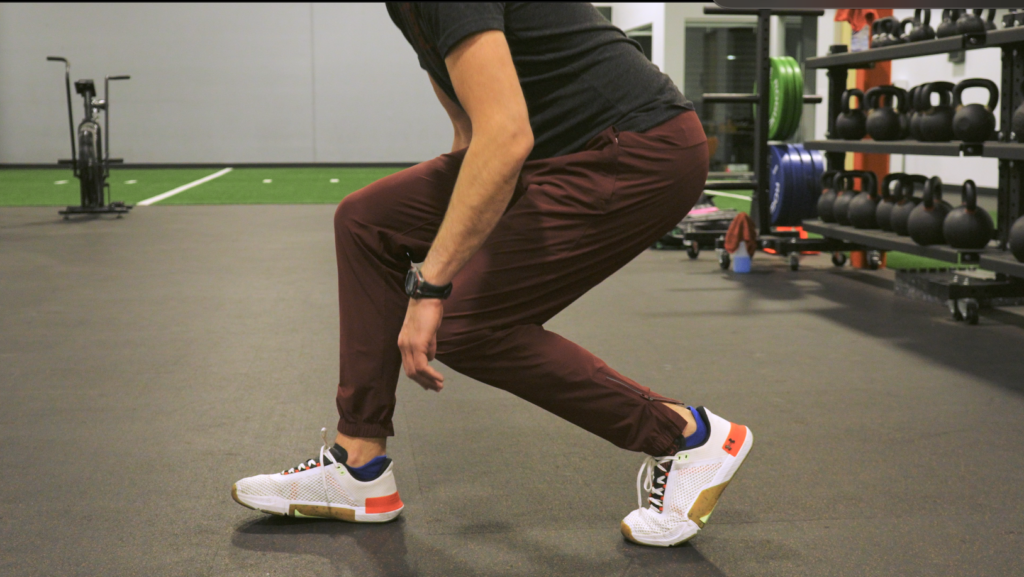
The most common errors in the split squat are:
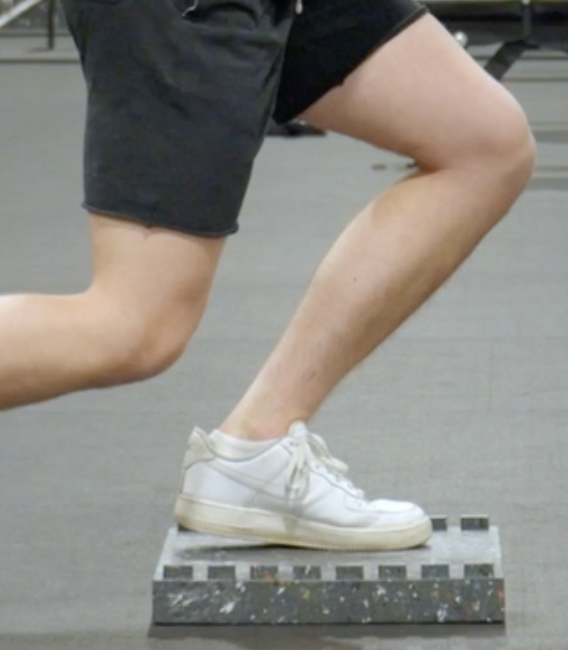
- Losing front heel contact (use a ramp if heel contact can’t be maintained)
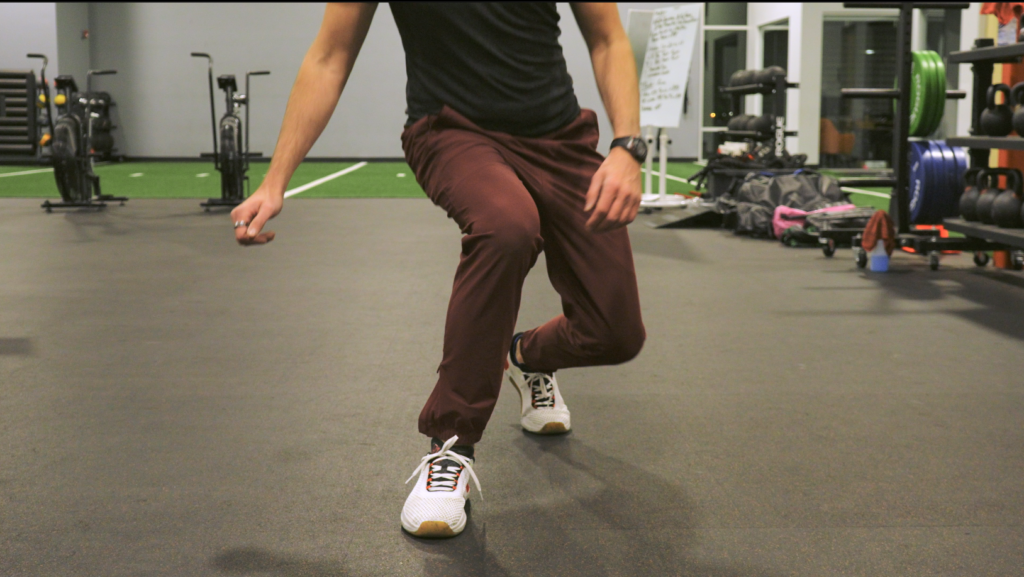
- Knees sweep out (To fix, limit the depth or increase front foot elevation)
- Back hip flexes too much (To fix, limit the depth or increase front foot elevation)
- Leaning torso backward (fix by hinging back)
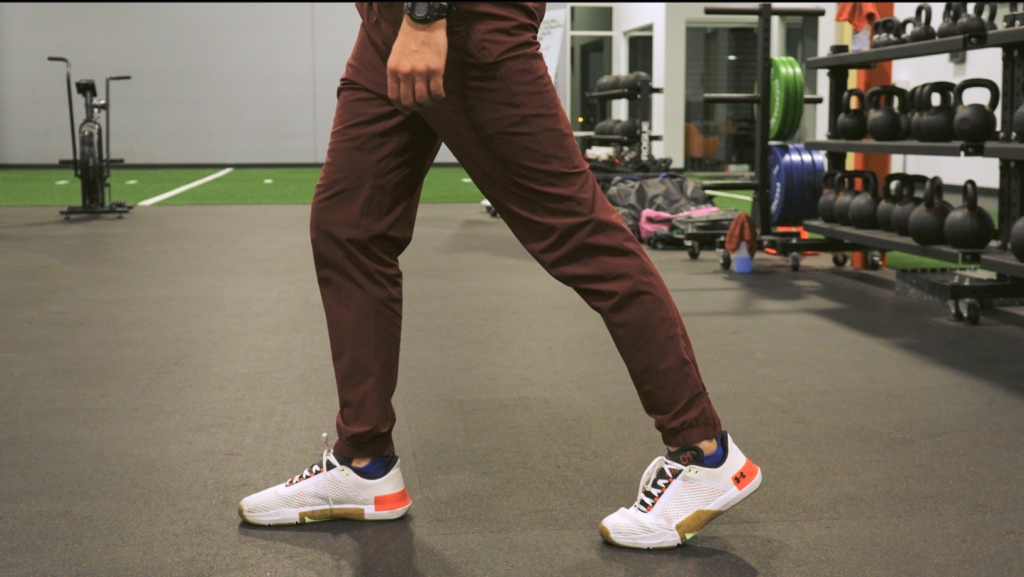
- Hyperextending the back knee (fix by keeping knee soft)
Special Foot Elevated Split Squat Considerations
The above cues and issues remain the same with each variation. Though there are a couple of things to consider specifically for these two moves:
Front foot elevated split squat
- With any compensations, raising the front foot elevation can make it easier. Make sure to keep depth limited
Rear foot elevated split squat
- Don’t elevate the back leg too high. Doing so requires a TON of hip motion that most people lack
Sum up
Those are the differences between the front and rear foot elevated split squats.
To recap:
- The split squat requires progressive pelvic rotation toward the front leg
- Front foot elevation reduces this rotation and biases external rotation
- Rear foot elevation increases this rotation and biases internal rotation
Which variation do you program more? Comment below and let me know.

